

Let's have some fun with this springtime makeup look, a step-by-step smokey eye tutorial using Red Apple Lipstick products. This smokey eye is great to wear during the daytime, but also easy to turn into a nighttime look with a few modifications.
What is a smokey eye?
Simply put, it is a style of eye makeup where a darker shade of eyeshadow is applied to both the top and lower lids and then blended with a lighter eyeshadow shade to give a smokey effect.
The eyeshadow used to blend can be in the same color range as the darker lid color or a color that coordinates well with it. Eyeliner can also be applied and blended out for an even smokier effect.
In this tutorial, we will be using a darker taupey plum eyeshadow and a lighter taupe eyeshadow to blend that out.
Can you wear a smokey eye during the day?
Yes, though a smokey eye is usually worn for evening occasions you can definitely rock this look during the day. It’s all about the colors you use and the intensity of them, for daytime wear don't apply your lid eyeshadow too dark. At the end of this easy smokey eye tutorial, I will give you a couple options to take this smokey eye look from daytime to nighttime. Let’s get started!
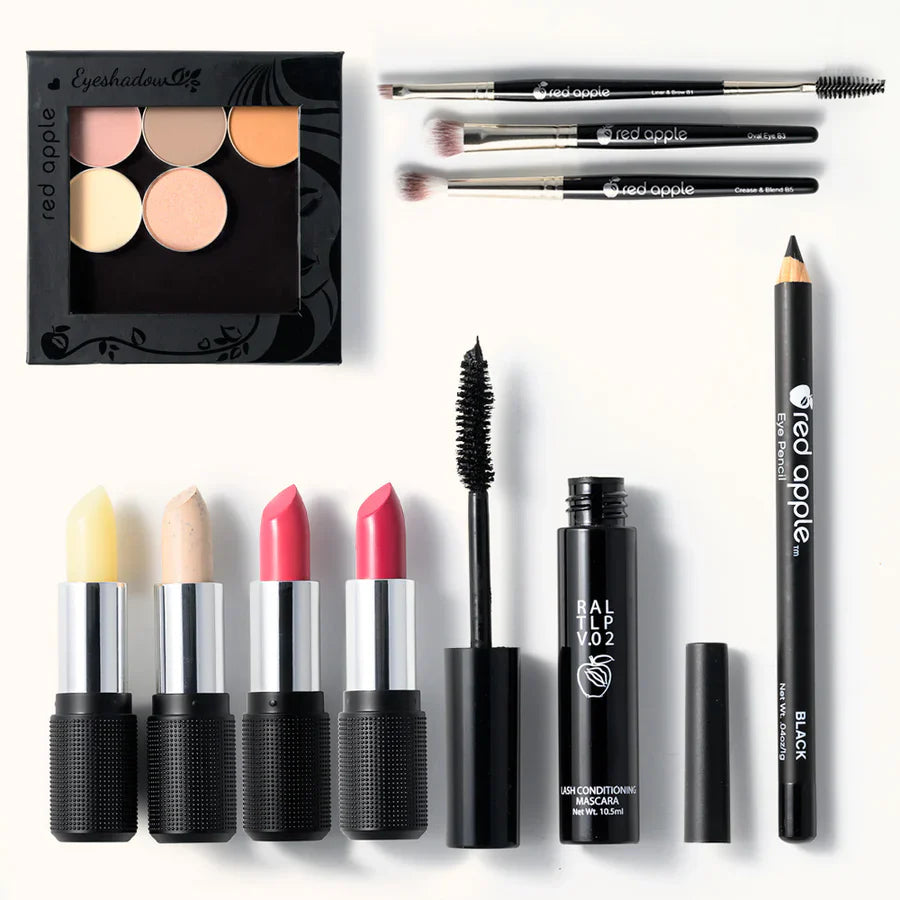
Eyeshadows needed for this look:
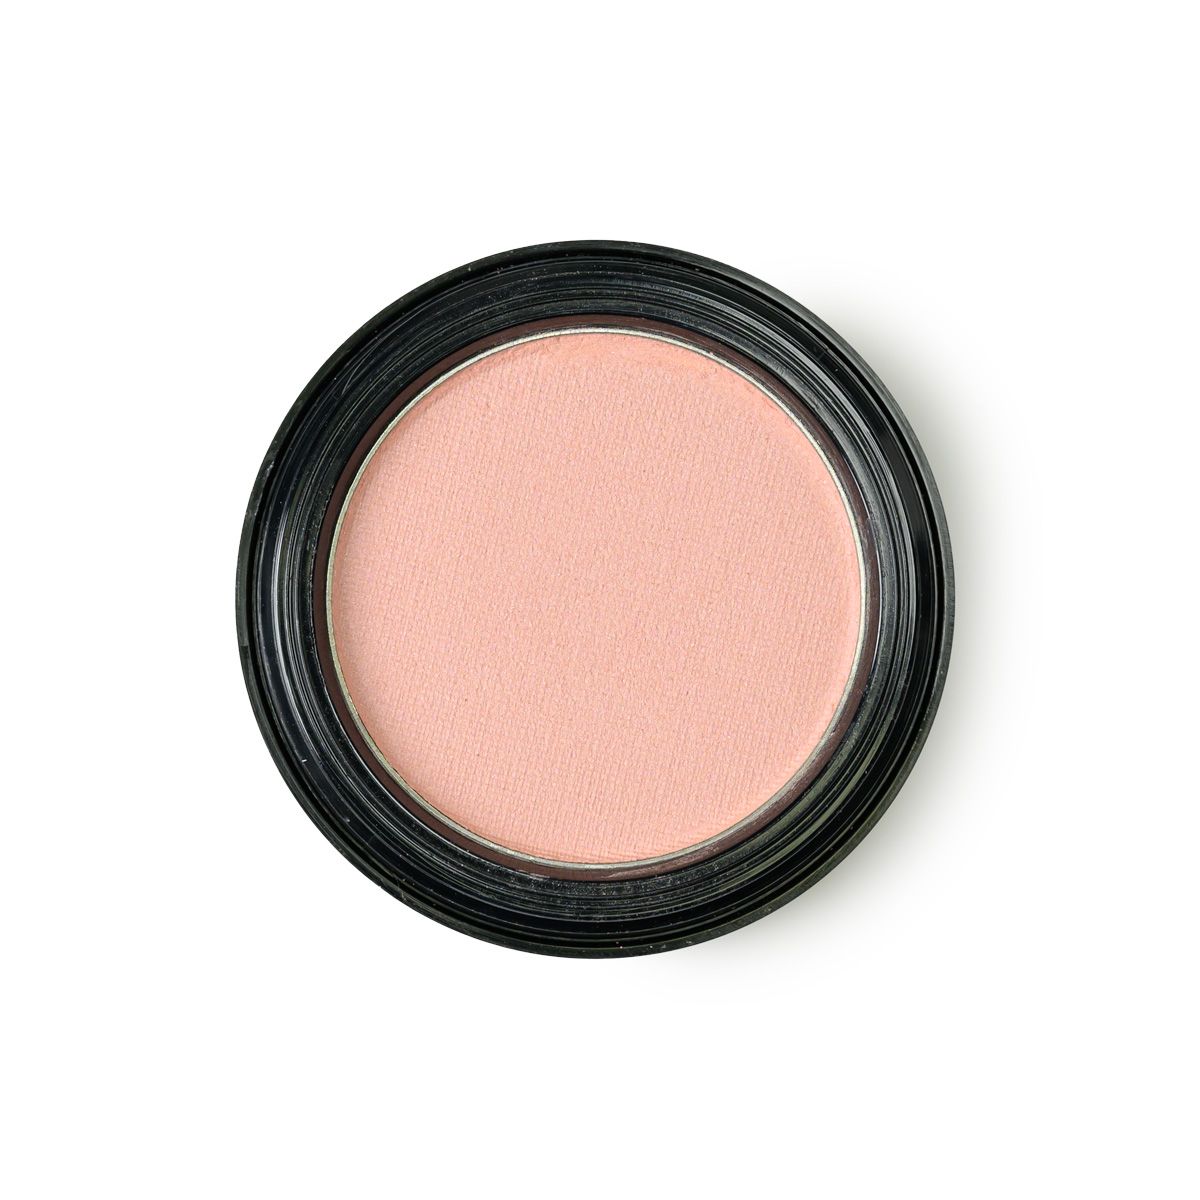
Porcelain- a light, matte, off-white creamy nude shade that has a slight pinkish/peachy yellow tint to it. This works great as a base color and helps to neutralize discoloration on the lids.

Porcelain by Red Apple Lipstick
Plums Up!- a matte plum taupe shade.

Plums Up! by Red Apple Lipstick
Made You Wink- a matte rosy taupe color.

Made You wink by Red Apple Lipstick
Hush Hush- a matte light peach shade.

Hush Hush by Red Apple Lipstick
Hello Darkness- a dark, grayish-brown, taupe color.

Hello Darkness by Red Apple Lipstick
Buttercream- a light, shimmering off-white shade that has a slight yellow tint- a great highlight color.

Buttercream by Red Apple Lipstick
Step 1: Prime Your Eyes
Start by priming your eyelids with the Prime Time Eye Shadow Primer. Apply just a small amount to the entire lids. Let it dry for a couple of minutes before moving to the next step. (You could fill in your brows if you have already applied your foundation, while the primer dries.)

Prime Time Eye Shadow Primer by Red Apple Lipstick
Step 2: Base Eyeshadow Color
Next, you want to apply a base color to the entire lids. This will help set the primer as well as help your eyeshadows blend smoothly. You can either choose an eyeshadow color that is close to your complexion color, or even a little lighter, or a lighter shade of the main color being used. In this case, it would be a lighter shade of plum that coordinates well with your other plum shades. For this look, I chose to go with Porcelain which is my favorite base color eyeshadow. Use the Vegan Wet/Dry Eye Brush, or something similar to this, to apply your base color.

Here, Noemi has applied Porcelain eyeshadow as an all-over base color.

To apply the base color, we recommend using the Vegan Wet/Dry Brush by Red Apple Lipstick.
Step 3: Lid and Crease Color
You now want to apply Plums Up! eyeshadow onto the lids. Start by using the Vegan Wet/Dry Eye Brush to pack on the color on the lid, making sure not to apply it too dark. Then, with the Vegan Crease and Blend Brush, blend the color into the crease (that folded area above the eyelid where a literal crease forms).

Noemi has applied Plums Up! onto the entire lid blending it using the Blend Brush.

Vegan Crease and Blend Brush by Red Apple Lipstick
Step 4: Transition Eyeshadow Color
Using the Vegan Crease and Blend Brush again, you now want to add Made You Wink eyeshadow onto the transition area (area above your crease). Blend it with Plums Up! eyeshadow by blending across the area and going into the crease, using windshield-wiping motions.

Noemi has applied Made You Wink by Red Apple Lipstick.
Step 5: Blend Edges
Now you want to blend out and soften any hard edges. Take the Vegan Crease and Blend Brush and blend Hush Hush eyeshadow onto the edges of Made You Wink. You can also take some more of Plums Up eyeshadow and darken the lids if you need to make the smokey eye look darker.

Here Noemi has applied Hush Hush and blended it onto the edges.
Step 6: Bottom Lash Line
Add Plums Up! eyeshadow across the bottom lash line using the Vegan Crease and Blend Brush. Then take some of Made You Wink eyeshadow to blend that out.

Noemi has applied Plums Up! to the lower Lash line.
Step 7: Line Your Eyes
Line the eyes by using the Vegan Angled Eye Brush to apply Hello Darkness eyeshadow to the lash line. You can wing your liner or just darken the lash line, which is what I did for this look. Darkening the lash line gives the effect of fuller lashes. Many women have eyeliner questions - we have covered eyeliner application techniques and styles based on your eye shape in our All About Eyes Course Here

Noemi has applied Hello Darkness to line the lash line.

This Vegan Angled Eye Brush is a must in your brush collection. The angled edge helps to make perfect lines when lining the lash lines and the spoolie end is great for shaping the eyebrows.
Step 8: Highlight
Highlight your eyes by applying Buttercream eyeshadow to the brow bone and the inner corner of the eyes, on the tear ducts. You can use the Vegan Crease and Blend Brush to do so by applying with the tip of it.

Noemi has applied Buttercream to the brow bone and inner corner of the eyes.
Step 9: Mascara
Finish the eyes by applying The Lash Project Mascara. Apply 2 to 4 coats, 2 coats for a natural look, or 4 coats for a more dramatic lash look.

Noemi has applied The Lash Project Mascara to complete this eye look.

The Lash Project by Red Apple Lipstick
On the face, I used the Sundrop Bronzer to add some warmth as well as some definition. Using the Vegan Blush Brush, I applied the bronzer to the forehead (towards the hairline), on the temples, and the hollows of the cheeks.
For blush, I used M’Lady blush which is a muted mauve that compliments warm undertones in medium skin tones. Mauve shades of blushes coordinate well with plum shades so they’re great to pair with plum eyeshadow looks
I also applied a bit of Buttercream eyeshadow as a highlight, on top of the cheekbones, on the nose bridge, and the cupid’s bow and center of the chin.
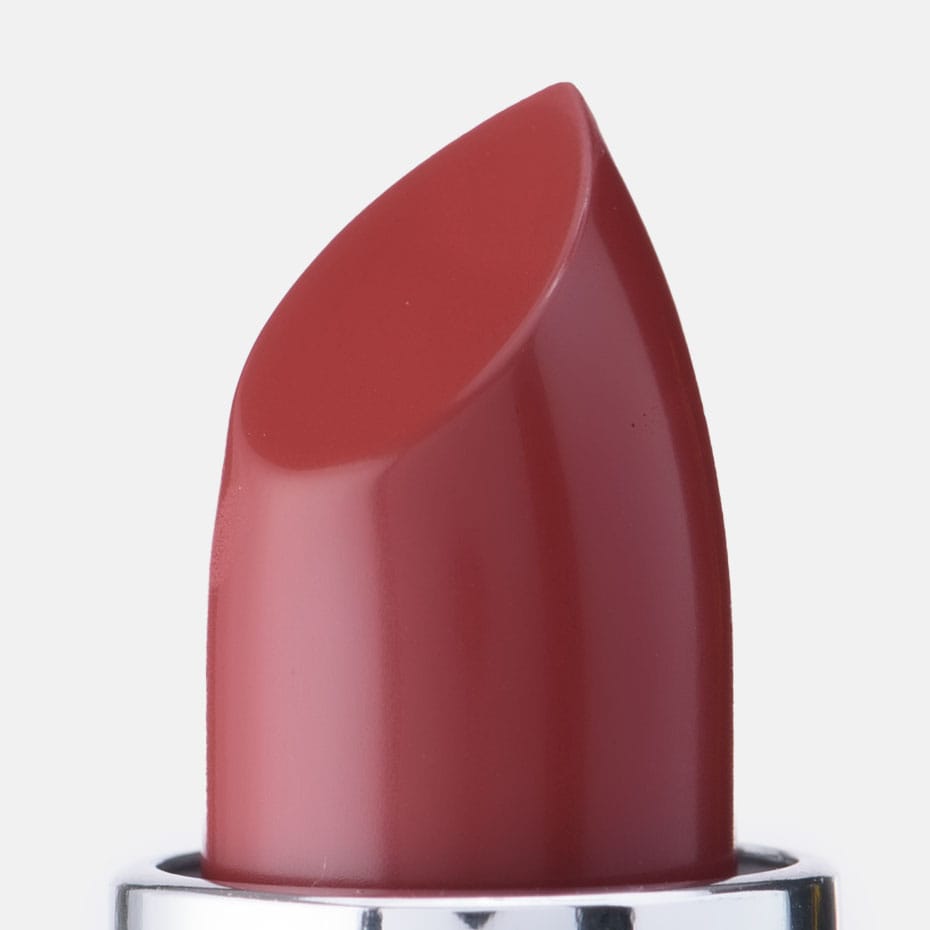
To finish the whole look I decided to go with a light pinky lip and chose Secrets lipstick, a cool-toned pink shade with golden shimmer. To add a bit of warmth and tone down the color, I topped it with Tiny Dancer lip gloss, which is a beautiful warm peachy-pink nude color.

Can I Wear This Easy Smokey Eye During The Daytime?
Absolutely! This look is perfect for daytime. The plummy tones in this look paired with a light pink lipstick scream spring and look amazing on every eye color. If you're new to wearing a smokey eye during the day, simply apply each eyeshadow lightly and choose a light lipstick.
To take this gorgeous smokey eye tutorial from daytime to nighttime, you will deepen the lid color and bottom lash line color by building up the Plums Up! shade. You can do this hours later, just make sure to absorb any eyelid oils before applying more eyeshadow on top. Then, blend it out a bit, with Made You Wink. You can also add some more of the Hello Darkness liner shade and then blend that out into your lid color (creating a smudged liner) for an even smokier effect.

Sundrop Bronzer by Red Apple Lipstick

M'Lady Blush by Red Apple Lipstick

Vegan Blush Brush by Red Apple Lipstick

Secrets by Red Apple Lipstick

Tiny Dancer Lip Gloss by Red Apple Lipstick


Frequently Asked Questions about Smokey Eyes Tutorial:
- What colors are used for a smokey eye?
You can pretty much use any color to do a smokey eye, the key is to use at least two shades that are similar in color range, one being darker and the other a lighter shade. While darker colors such as black and grey are used often for doing smokey eyes, you can also use brown eyeshadows for a softer smokey look. Greens and purples are also great colors as well as blues.
- Can anyone wear a smokey eye?
Yes! This popular eye makeup style looks great on everybody, and the classic black smokey eye is flattering on everyone. Of course, you can also use other colors that will look great and make your eyes pop. For example, purples are great for brown eyes while browns look amazing on blue eyes. If you have hazel eyes, try a navy color for a stunning combination. And if you have green eyes, use a deeper and richer green, like an emerald shade for a gorgeous dramatic look.
- Will a smokey eye make eyes look smaller?
Darker colors can make eyes appear smaller, so smokey lids could potentially make your eyes look small if you apply colors too dark. The trick is to not apply your lid shade too heavy. If you have smaller eyes, try adding a lighter color to the inner corners of the eye to create a gradient effect and help open up the eyes.
- Can hooded eyes wear a smokey eye?
Yes, hooded eyes can wear a smokey eye. However, since hooded eyes have an extra layer of skin over the natural crease, you would want to avoid dark shades all over the lid. Use a medium shade (like a medium-toned brown) to place on the lids, start from the outer corner and place it up and over the hooded area. Apply that same shade to the lower lash line. Then take a deeper eyeshadow shade and layer on top, over the hooded area, to add depth. Then also apply a highlight eyeshadow to the inner corner of the lower lash line as well as on the brow bone, this will help make the eye look wide open. We have an two videos with details about how to apply eyeliner for hooded lids and how to apply eyeshadow for hooded lids - if you want to see this in application go to our All About Eyes Cours
- What color lipstick goes well with a smokey eye?
Since the eyes are the main focus with a smokey look, you want to choose light or subtle lip color to complete the look. Nudes are perfect lip colors to wear with a smokey eye. Depending on the eyeshadow colors you use, you can choose from a brown nude, a peachy nude, or a pinky nude lipstick color, even a light shade of pink would work well.
We hope you like and try out this makeup tutorial. Are you a fan of smokey eye makeup? Have you tried the new matte eyeshadows? They are perfect for creating smokey eyes! As always, we would love to hear your thoughts on this tutorial.
What About Lipstick Shade Choices? How do you pair a lipstick with a smokey eye. We have an article just on this subject -> Simple smokey eye look how to choose a lipstick to pair with a smokey eye.
