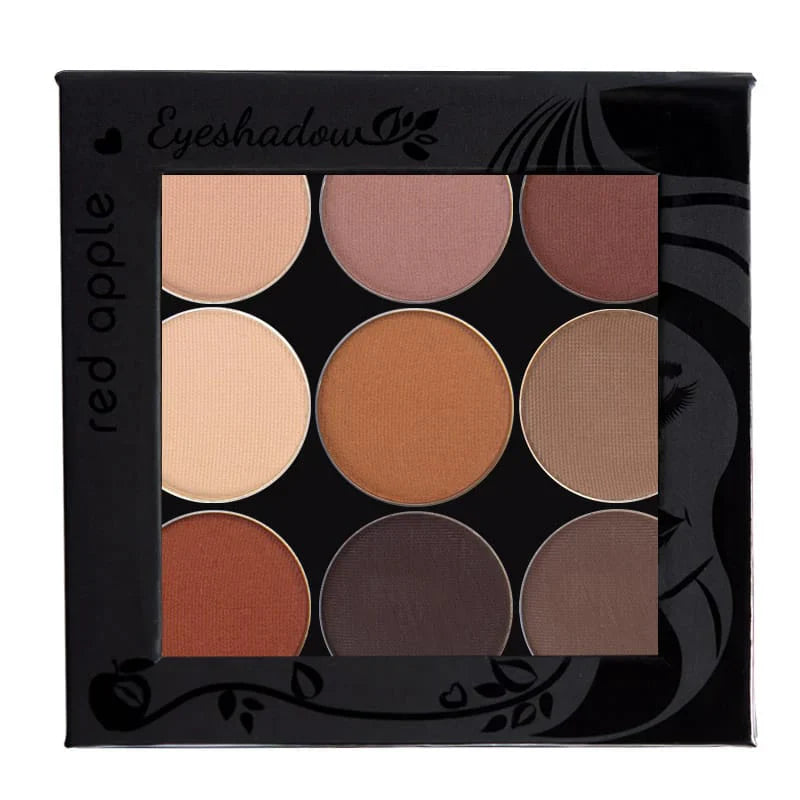
Hey guys! We have another fun summer makeup tutorial for you. In this post, we'll be doing a beautiful bright summer makeup look, of course using Red Apple Lipstick products.
This look can be worn for pretty much any occasion when you want a bright pop of color to your makeup look. It’s super easy to do and quite simple, you will not need too many products to create this look.
Anyone, whether you are a pro or a beginner at makeup, will be able to recreate this beautiful summertime look.
We'll start with the eyes first and then move on to the face makeup. However, you can start with the face makeup first if you prefer and then the eyes. So, let’s get started!
Bright Summer Makeup: Eyes
Step 1- Prime the Lids
You want to get started on the eyes by first priming your eyelids using the Prime Time Eye Shadow Primer. Apply a tiny amount on the entire lid, all the way up to the brow bone. Let it dry for about a minute or two before applying eyeshadow.
If you have already applied your base makeup, you can fill in your brows while you wait for the primer to dry if this is part of your makeup routine. (If you have not, we suggest waiting until after you do to prevent getting any foundation on your already filled-in brows.)
Once the primer has dried, you can take the extra step of setting it with a bit of setting powder if you would like, I like to do so to help eyeshadows blend smoothly.
Step 2- Base Color
Now you want to apply a base color to the lids. Using the Wet/Dry Eye Brush, or a brush similar to it, apply Porcelain eyeshadow all over the lid taking it up to the brow bone. (If Porcelain eyeshadow is too light for you, feel free to use another eyeshadow shade that is closer to your skin color.)

Featured is Noemi with eyes primed and Porcelain eyeshadow applied.
Step 3- Lid, Crease, and Transition Shade
Using again the Wet/Dry Eye Brush, apply Sugar & Spice eyeshadow on the lids. Then take the Crease and Blend Brush, or a brush similar to it, to blend it into the crease (into the folded area above the eyelid where a literal crease forms) using windshield-wiping motions blending it onto the transition area, just above the crease. You can always go back in with the Wet/Dry Eye Brush to apply more on the lid to intensify the color if you need to or want to.

Noemi has applied Sugar & Spice all over the lid

Here, Noemi has applied Sugar & Spice eyeshadow onto the lid and blended it out.
Step 4- Bottom Lash Line/Lid
Next, you want to apply Siren eyeshadow (or any bright fun eyeshadow color) on the bottom lash line for a pop of color. Apply it all the way across using the Crease and Blend Brush or angled eyeliner brush, using windshield-wiping motions to blend it out.

Noemi has applied Siren Eyeshadow by Red Apple Lipstick to the lower lash line
Step 5- Highlight the Eyes
Softly highlight the eyes by applying Buttercream eyeshadow on the brow bone and the inner corner of the eyes. You can use either the Wet/Dry Eye Brush or the Crease and Blend Brush to do so.

Here, Noemi has applied Buttercream eyeshadow on the brow bone and inner corner of the eyes.
Step 6- Mascara
To finish the eyes, apply a couple of coats of The Lash Project Mascara to the lashes. Apply 2 coats for a natural look, or 4 coats for a more dramatic lash look.

Here, Noemi has applied Buttercream eyeshadow on the brow bone and inner corner of the eyes.
Bright Summer: Face
Step 1- Base
Apply your base makeup as you would normally do. We do suggest something lightweight during summertime, either a light coverage foundation or something like a tinted moisturizer. For this look, I used a luminous face primer and then applied a light coverage foundation. I also applied a bit of concealer just on the undereye area to brighten it up and set that with a light layer of setting powder.
Step 2- Bronzer
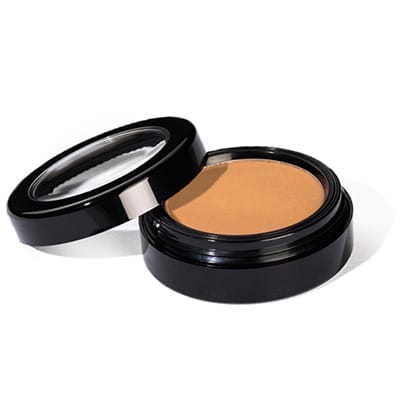
Next, you want to add some warmth to the complexion. Using the Blush Brush, lightly bronze the face by applying Sundrop Bronzer to the areas where the sun would naturally hit- across the forehead, cheekbones, nose, and chin. You can also apply it to the hollows of the cheeks and on the jawline to define the face a bit.
Step 3- Blush
Add a healthy pop of color with blush. Apply Gotta Glow blush, using the Blush Brush, on the apples of the cheeks, blending outwards towards the ears being very careful not to over-apply. If Gotta Glow does not work for your skin tone, choose another blush shade that better suits your skin color. Coy, Tango, and Good Vibes are also great shades for this kind of look.
*Step 4 (optional)- Setting Spray/ Face Mist
You can set your finished face look with a setting spray to help keep everything in place and help your makeup stay looking fresh longer if you would like to do so. Or you can use a face mist instead, which is what I used for this look to help all the powder products melt into the skin and give a more natural, skin-like finish to my makeup look.
In the next 3 pictures, Noemi is featured wearing her Base makeup, Sundrop Bronzer, and Gotta Glow blush by Red Apple Lipstick
Bright Summer: Lips
Step 1- Prep the Lips
To moisturize the lips and help prep them, apply a light coat of the Rallye Balm. Let that soak in for a couple of minutes before applying lip color.
Step 2- Lip Color
Finish this look by applying Tangomint lip gloss to the lips. Keep the application light, apply just enough to get a pop of color on the lips.

Featured in the next two pictures is Noemi after she has applied Tangomint Lip Gloss by Red Apple Lipstick

And you're done! What did you think of this fun bright summer makeup look? We sure hope you love it and try it out this summer. Please let us know in the comments as well as what bright colors you are loving at the moment!
Noemi's completed Bright Summer Makeup look - The close-up of the eyes shows the beautiful combination of eyeshadows.
Frequently Asked Questions:
1. How do you do bright color makeup?
There many ways to add bright colors to your makeup. You can do so with eyeshadows, lipstick, lip gloss, blush, mascara, and eyeliner to name a few.
2. How do you do colorful makeup for beginners?
If you are a beginner, you might not feel super comfortable wearing a super bright look. So, incorporate a pop of color to start with, something that is not overly bright and you feel comfortable with. One of the best and easiest ways to do so is by doing a neutral eyeshadow look and then adding a brighter eyeshadow shade to either the bottom lash line or in the inner corners of the eyes. This will make your eyes pop without being too much.
3. How do you add color to everyday makeup?
A great way to add color to your everyday makeup is by doing a simple eye look with a bold lip color. Another great way to do so is by doing a colorful eyeliner or using colored mascara. You can also add color by choosing an eyeshadow shade and using just that one shadow all over the lids while you keep the rest of your makeup simple.
4. How do you apply bright eyeshadow for beginners?
The best way to use bright eyeshadows for anyone who is just getting into wearing more colorful shades is to apply a pop of color to the lower lash line. If you feel a bit more comfortable, another way is to choose a brighter eyeshadow color and placing it on the lids, then blending it out using a neutral eyeshadow shade while keeping the rest of your makeup simple. Both of these ways will give your look just enough of a pop of color without being too much or overpowering.
What Products Did We Use For This Bright Summer Makeup Look?


