How To Shape Your Eyebrows – Brows 101: Part 1
In the first of this video series, I how you shape and groom your eyebrows right from the comfort of your home. You will be able to confidently trim, pluck, shape, and contour your eyebrows with just a few simple tools, tricks, and tips. This tutorial is easy to follow along and you’ll have beautiful, perfectly shaped eyebrows in no time at all.
If you’re a beginner – this tutorial will be everything you’ll ever need to know about how to shape your eyebrows. If you’ve been shaping your eyebrows for years, hopefully this tutorial will clue you in on a few tweaks you can make to allow your natural brow shape to come to life. Often times, the women I consult with on brows have been WAY over plucking since the 90’s and aren’t sure how to do it differently.
The thing about eyebrows is they are my NUMBER ONE TRICK for looking more youthful. As we have more birthdays, it’s natural that the eyebrow thins. Years of tweezing and waxing also take their toll and weaken the hair follicles. Over time the follicles scar, and the hairs grow back more slowly, if at all. An overly thin brow, sparse brows, or unkempt brows all make you look older than you are.
In this tutorial and Part 2 (How To Fill In Your Eyebrows) – you’ll learn how to reveal your natural eyebrow shape and bring it to life. This will instantly make you look more awake, sophisticated, and youthful. The time of super thin, or overly bushy brows is over. The refined look is where it’s at – refine your brows and feel confident!
Let’s dive into how to shape your brows and reveal their natural shape, grab your tools and let’s begin.
The tools you’ll need to shape your eyebrows
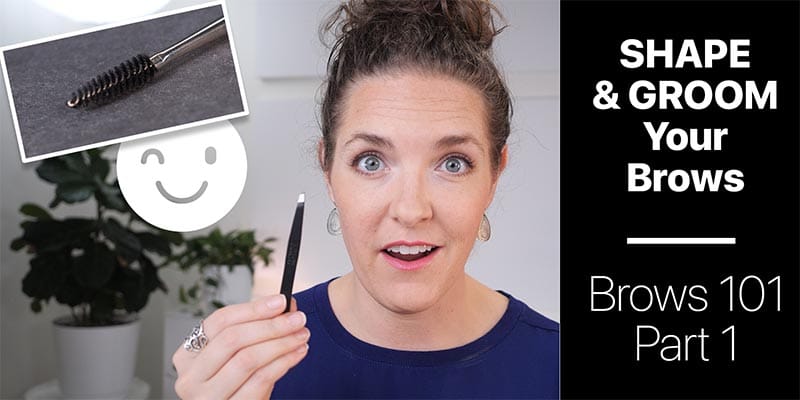
- Tweezers
- Small Scissors
- Spoolie Brush (like this dual-ended brush designed for brows or a clean toothbrush)
- Marking Tool (like this brown eyeliner pencil)
- Ice Pack (if plucking is painful for you or you want to reduce inflammation)
Tweezers

Any brand of eyebrow tweezers will work great. My preference is a slant tip – it allows for precise plucking AND for grabbing those fine, light hairs all at once.
Small Scissors

Tiny scissors (like hair cutting scissors) make trimming one unruly, wiry hair at a time precise and fool-proof. The thinner the blade the better. If you don’t have tiny scissors, don’t hold off (unless you want to get some) you can do this with regular scissors you’ll just want to be extra careful to not cut too many hairs. The video above describes this process – watch that first to decide if you need scissors or not.
Spoolie Wand

The Red Apple Lipstick Vegan Angled Eyebrush with Spoolie will be your favorite multipurpose tool in your kit. The Spoolie end will help with brushing the eyebrows to help give them shape but to also know where the longer hairs will need a little trim.
Marking Pencil

Our Hypoallergenic Eyeliner in the shade Cocoa works great for making the necessary guide marks and will easily be removed when you finish the eyebrow shaping/grooming process.
Ice Pack
Using an ice pack or frozen peas/vegetables will help not only right before you begin to pluck any necessary eyebrow hairs but also after plucking and pruning for reducing inflammation and any redness that may occur.
How To Actually Shape Your Eyebrows
Step 1 – Mark the inner points of your brows
Flatten your tweezers to create a straight line. Place them vertically, flat against the bridge of your nose. Wherever that point meets the brow line – is the furthest IN your brows should reach. Most of us will be shocked at how much further IN your brows should be. Just mark that point with a dot of eyeliner on each brow.
Step 2 – Mark the outer most points of your brows
Using your tweezers again, lay them on the diagonal. One end of the tweezers should be on your nostril, angled up to the outer edge of your eye, and then up to the edge of your brow. Mark a dot with eyeliner at the point where the tweezers end by your brows. That’s how far out your brows should reach.
Step 3 – Mark where the arch should be
There are a few different guidelines, pick which one looks most natural to you.
- The arch is typically 2/3 of the way into the brow, mark that point
- Look at the top of your brow line, the highest point – mark underneath that point, your arch can be there
- Look straight in the mirror, the outside of your IRIS – mark directly above the outside of your IRIS
Step 4 – Brush brows up and out – then tweeze in this order:
- In between the inner points
- Outside edges, anything beyond your mark (toward your temples)
- Outside edges, anything below your mark (toward your lash line – careful here, leave as many hairs as possible)
- Arches – start close to the eyelid and work your way toward the arch, stop early – don’t finish this area until Part 2
- Clean up anything close to the eyelid – any errant hairs that are in the lid area
Step 5 – Even out the bottom in the center
- Hold your flattened tweezers parallel across the bridge of your nose
- Tweeze the side of your brows that is lower than the other one to even then out
- This is the time to decide if you want to raise the overall level of your brows (like I do in the video) in order to open up your eyes. Tweeze tiny bits on each side to raise the level slowly and keep looking in the mirror with relaxed eyes. Get the mirror further away, don’t do this review super up close.
Step 6 – Brush brows up and hold, snip any hair that is super long or wiry
- Do this one hair at a time
- Snip the hair downward instead of straight across to let it blend better
- Do this starting at the inner corner and working your way to the ends, brushing up & out, then snip
- Most women (and men) only have to snip a few hairs, so don’t get scissor-happy, yet!
Make sure to watch the video at the top to see a quick demonstration of each of these skills.
Next, go watch Part 2 – How To Fill In Your Brows. You’ll finish shaping your brows after you fill them in. Leaving extra hairs in Part 1 allows you to keep the structure of the natural brow and filling in sparseness.
So, just because there’s a sparse area, don’t pluck all the extra hairs – you can use those when you fill them in. Keep as many hairs as possible close to the arch – and you’ll have much more to work with when filling in (and NOT have to use a pencil to “draw” hairs).
Watch/Read Part 2 – How To Fill In Your Brows and Finish Shaping
