

You're going to a wedding! How exciting.
Hmm - are there any rules for wedding guest makeup? Any beauty tips I should follow? Should I wear a bold lip or not? Should I have a colorful look, over the top?
Or, should I strike the right balance as a wedding guest? I've got you covered, so keep reading.
Fall is one of the most popular times for weddings, and for good reason. The weather tends to be perfect, especially in early fall when it is not too hot nor cold.
Plus, the changing colors of trees and leaves give the most beautiful backdrop/setting for a wedding.
Makeup trends for fall also work beautifully for wedding makeup looks. As a wedding guest, however, what makeup should you wear to a wedding?
Weddings are special occasions, so it would be a good idea to do one’s makeup accordingly, without trying to outdo the bride of course.
I believe that a wedding guest should keep the overall makeup look balanced, choose one area to be the focus, and have the rest of the look complement it.
If you want your eyes to be the focus, keep the lips simple, and vice versa. Richer and deeper shades of eyeshadows and lipsticks are great for fall, but avoid wearing anything too dark because it won't photograph as well.
You can't go wrong with neutral and earth tone shades for a subtle, yet beautiful and classic fall wedding look.
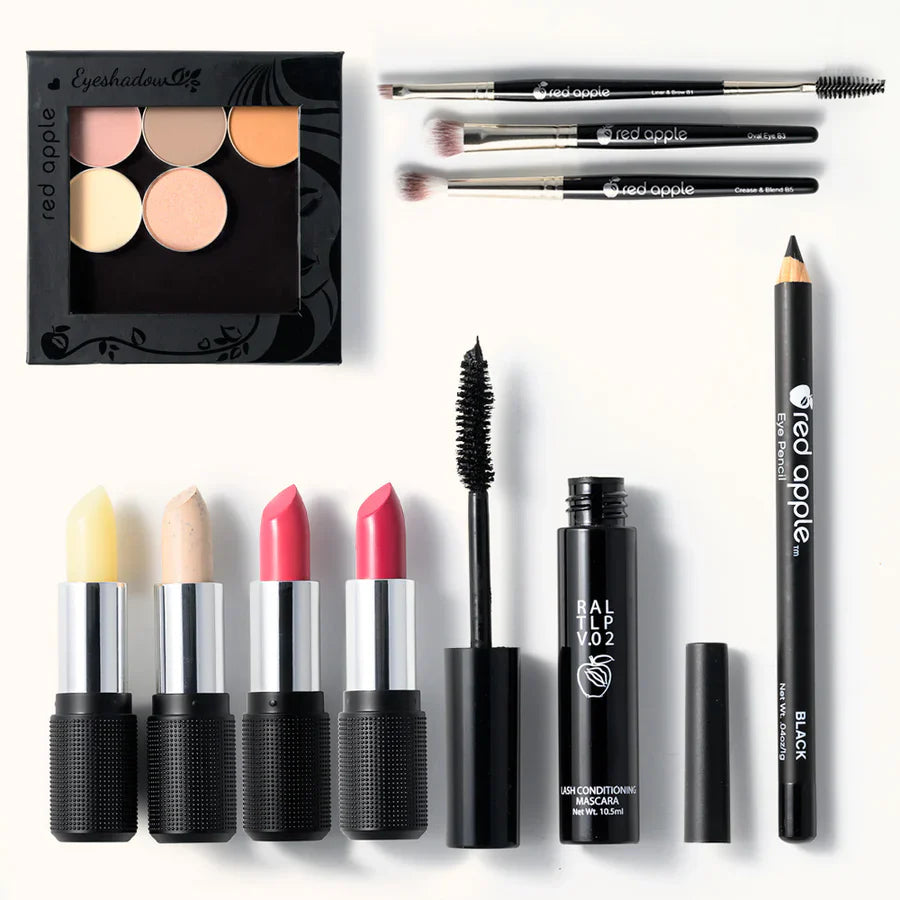
Red Apple Lipstick has a great selection of makeup products, including, eyeshadow and lipstick shades, that are perfect to create a beautiful fall-inspired wedding makeup look for guests.
Below is an easy-to-do look using some of these products, it is perfect for both daytime or evening.
It can be adjusted to have the eyes be the focus of the look or you can choose to make the lips the focus instead.
Remember to wear your makeup slightly heavier than you normally would, to show up in pictures.
And, if you'll be wearing a mask, check out our 6 tips to stop makeup-to-mask transfer article.
Easy Tutorial for Wedding Makeup For Guests
An important aspect of wedding guest makeup is how well does it photo? I've put together a tutorial that's not only easy, but also looks great in any photo, in any light. It also won't outshine the bride, or make you stand out in any peculiar way.
Let me show you the completed look first, and then I'll show you how to do it.


We will start with the eye makeup first. However, you can always start with face makeup first if that’s what you prefer.
Let's Play Up The Eyes
Step 1- Prime the Lids
Begin by prepping the lids using the Prime Time Eye Shadow Primer. Apply a tiny amount all over the lids going up to the brow bone. Let it dry for a couple of minutes before applying eyeshadow. Once dried you can set it with a bit of setting powder if you would like, doing this helps eyeshadows blend even more smoothly.
Step 2- Base Color

Next, you want to apply a base color to the lids. Using the Wet/Dry Eye Brush, or a similar brush, apply Porcelain eyeshadow all over the lid taking it up to the brow bone. (If Porcelain eyeshadow is too light for you, feel free to use another eyeshadow shade that is closer to your skin color.)
Step 3- Crease & Transition
Now take the Crease and Blend Brush, or a brush similar to it, and apply Earth Girl eyeshadow into the crease (into the folded area above the eyelid). Blend that out using windshield-wiping motions as well as circular motions to blend up onto the transition area, the area just above the crease.
Step 4- Outer V - 2 Examples


Using the Crease and Blend Brush, apply Tip Taupe eyeshadow on the outer V of the eyes. The outer V is the area between the lash line and crease on the outer corner of the eyes. (This will help add dimension and depth to the eye.) Use both windshield-wiping and circular motions to blend the eyeshadow. Then take a bit of Earth Girl eyeshadow to blend and soften out the edges of Tip Taupe.
*Tip- If you want your lip color to be more of the focus, do not build Tip Taupe up too deep. If the eyes are going to be the main focus of the look, then you can build it up to the intensity you want.
Step 5- Lid Shade

Apply Sand Castle eyeshadow to the center and inner third of the lids, taking it into the inner corners, using the Wet/Dry Eye Brush. If needed, you can blend in a bit more of Tip Taupe eyeshadow into the outer V area.
Step 6- Line the Eyes
You now want to apply eyeliner by applying Cocoa eyeliner pencil to the lash line. Use the Vegan Angled Eye Brush to smooth it out after applying. Next, you want to darken and set your liner with Espresso eyeshadow, apply it on top using the same brush.
Step 7- Bottom Lash Line/Lid

For a more complete look, apply Tip Taupe eyeshadow bottom lash line. Blend that out with Earth Girl using windshield-wiping
Step 8- Mascara
Finish the eyes with The Lash Project Mascara. Apply 3 to 4 coats for a more dramatic lash look.
And The Face
Step 1- Base

Apply your base makeup as you normally do. We do suggest using something not too glowy or shiny, but still, something with a radiant finish.
*Step 2 (optional)- Brows
Go ahead and fill in your brows if this is part of your routine. We suggest using a powder, such as an eyeshadow for a more natural look. Choose a shade that is close to your hair color, nothing too dark. For more on how to fill in the eyebrows, make sure to check out Andrea’s tips.
Step 3- Bronzer
Add some warmth back into the complexion by using the Blush Brush to apply Sundrop Bronzer. Lightly dust on the areas where the sun would naturally hit- across the forehead, cheekbones, side of the nose, and chin.
Step 4- Blush

For a healthy flush of color, apply Coy blush using the Blush Brush. If Coy blush does not work for your skin tone, pick another blush shade that looks similar to the natural color of your cheeks when they are flushed.
*Step 5 (optional)- Setting Spray/ Face Mist
To help keep everything in place and help your makeup stay looking fresh longer, set your finished look with a setting spray. You can also use a face mist instead to help all the powder products melt into the skin and give a more natural, skin-like finish to the makeup look.
And Now For The Lips
Step 1- Prep the Lips
Moisturize the lips by prepping them with a light coat of the Rallye Balm. Let that soak in for a couple of minutes before moving on to applying lip color.
Step 2- Lip Color
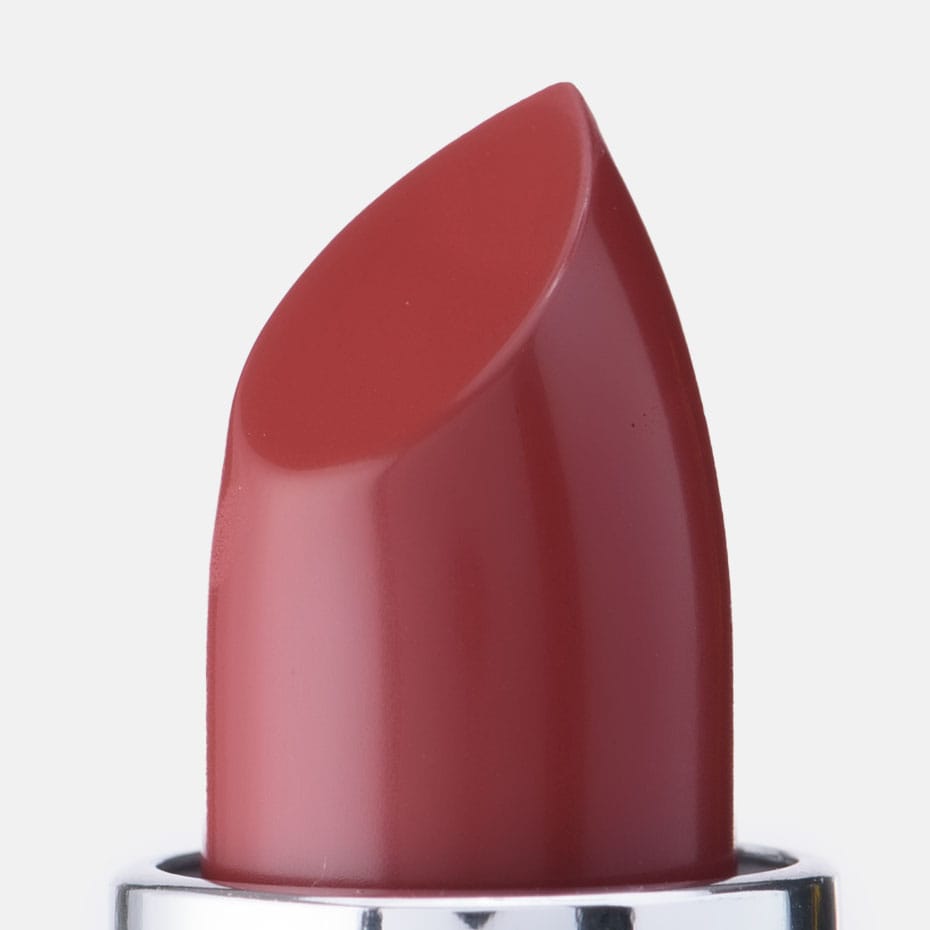
Finish this beautiful look by applying your lip color. A deeper shade of nude is perfect for this look, such as Naughty lipstick. However, for a more fall feel, you can pair this look with Spice ‘N Easy lipstick. Another great option, if you want your lips to be more of the focus, is Strawberry Lips lipstick for a pop of color that is not too much.
Conclusion
Will you be attending any numptials this fall? If you are, we hope this look and information is helpful when deciding your wedding guest makeup. This kind of look would also be great for a fall date night or night out with friends, so you can still try this look even if you will not be attending a wedding this fall. Let us know your thoughts in the comments below!
Frequently Asked Questions:
- Can I wear red lipstick to a wedding as a guest?
Absolutely! A red lip is a classic for a special occasion such as a wedding. Just remember to keep the rest of your makeup, like the eyes, on the simpler side to avoid looking overly done.
- Can I wear dark lipstick to a wedding?
If your lips are the main focus of your makeup look, you may choose a richer, slightly deeper shade of lipstick. However, it is best to avoid anything too dark to not draw too much attention to yourself instead of the bride. Pinks give us more freedom than words. A lovely lip without overshadowing bride. Let your eyes stand out with neutral colors. Try the fun color of Audrey or Let's Flamingle. Don't forget to bring it in your clutch for mid-wedding touches.
Here's some extra Tips & Tricks
Don't experiment with new looks
Attending a wedding isn't the time to play with new looks. If you intend to wear a new makeup look as a guest of a wedding, try it out before hand. Be sure to photo yourself in differing light levels and from different angles. This will give you a true sense of how that makeup look with live on in photos from the wedding
/wp:paragraph wp:paragraphUse makeup that matches what you are wearing. Unless this outfit is more colorful a sunkissed neutral look may be better. If you want to maintain a classic timeless look that you'll never regret wearing, choose a soft neutral lip color or nude eyeshadow.
Don't get caught with sore feet
A perfect option would be to carry heels for ceremony and photos but carry a pair of simple sandals in your bag to swap in when the party started.
Products I used In This Tutorial:
Prime Time Eye Shadow Primer- helps color correct and prime the eyelids, eliminating eyeshadow creasing and tired-looking eyes.
Porcelain Eyeshadow- light, matte, off-white, creamy nude eyeshadow with a slight pinkish, peachy yellow tint to it. Great as an eyeshadow base as it helps to neutralize discoloration on the lids.
Earth Girl Eyeshadow- neutral rich tan, camel matte shade.
Tip Taupe Eyeshadow- light grayish-brown matte shade.
Sand Castle Eyeshadow- a light, nude peach with golden shimmer
Espresso Eyeshadow- a very dark, matte coffee bean brown eyeshadow.
Cocoa Eyeliner Pencil- medium deep brown shade.
The Lash Project Mascara- a hypoallergenic mascara & lash conditioner in one, in satin black. Defines and strengthens the lashes.
Sundrop Bronzer- warm matte bronzer. Buildable and natural-looking, perfect for all skin tones.
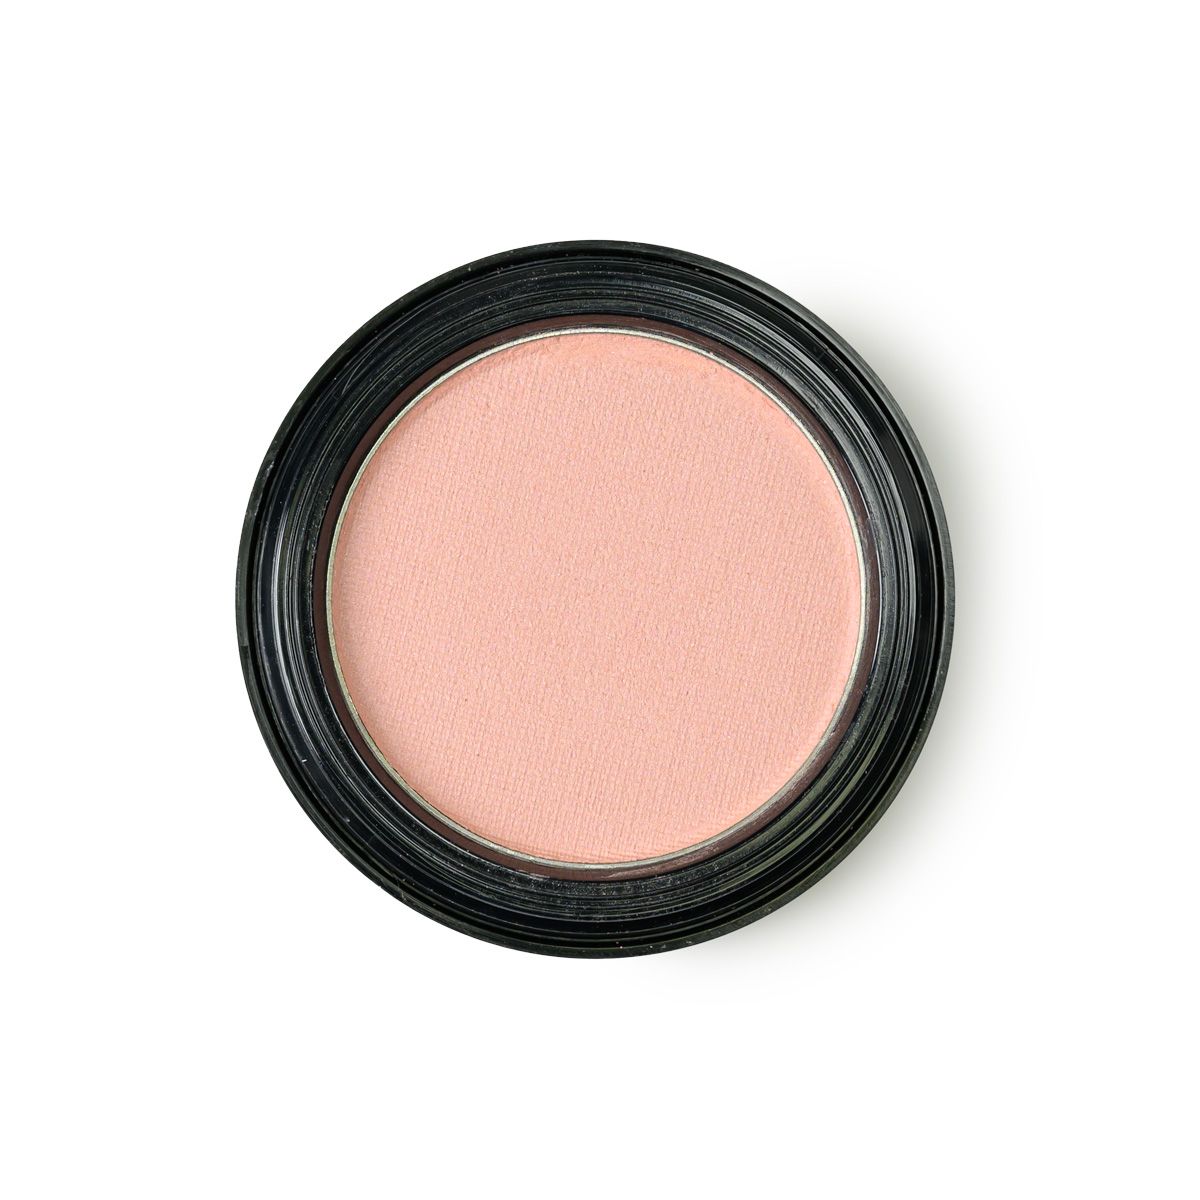
Coy Blush- a matte apricot-pink blush shade.
Naughty Lipstick- perfect tan nude, has no shimmer but it does give the lips a healthy shine.
or
hSpice ‘N Easy Lipstick- medium spicy orange with a brownish-red undertone.
or
Strawberry Lips Lipstick- gorgeous light red that can be worn sheer for a berry-stained look, or layered on for more depth.
![FEATURED IMAGE [Red Apple Lipstick] 3:19:18 - The Five-Minute Face: 10 Tips to Speed Up Your Makeup Routine](http://redapplelipstick.com/cdn/shop/articles/FEATURED-IMAGE-Red-Apple-Lipstick-31918-The-Five-Minute-Face-10-Tips-to-Speed-Up-Your-Makeup-Routine_bd85d844-7498-45d0-bb86-05136aa173ee.jpg?crop=center&height=640&v=1764204551&width=1280)
