

7 Ways To Apply Eyeshadow For Beautiful Everyday Looks | Red Apple Lipstick
Here at Red Apple Lipstick, we love eyeshadows. Eye makeup is one of the best ways to show creativity. Your eyelids are like blank canvases where you can create soft everyday looks, smokey eyes, or something fun and bold.
In this guide we are sharing seven different ways to apply talc free eyeshadow for sensitive eyes. You will see classic and basic techniques along with more creative ideas that still stay simple and easy to do.
These seven eyeshadow looks can be done in just a few minutes. You can wear them day or night and they will wow everyone around you.
Table of Contents
Always Start by Prepping the Lids
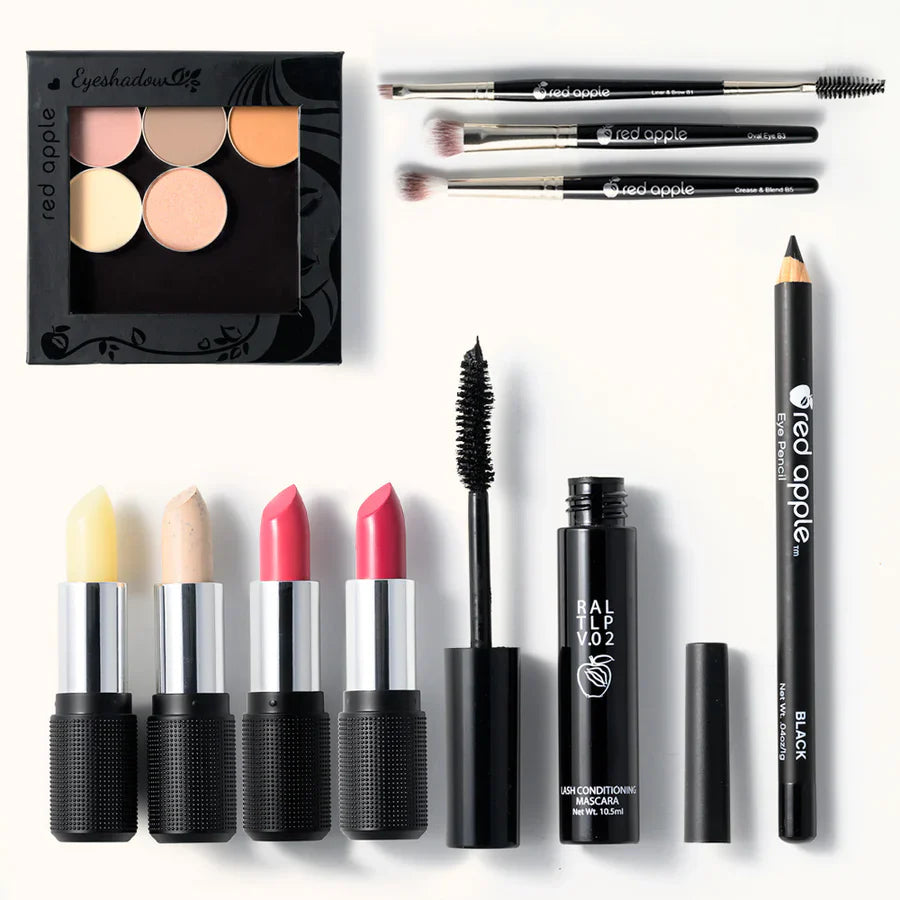
For all these different applications, start by applying a bit of eye primer, such as the Prime Time Eye Shadow Primer, to the entire lid to prime and prep the eyes. This helps your eyeshadow go on smoother and last longer.
You will also want to apply a base color on the entire eyelid, a matte neutral shade that is close to your skin tone and no more than one or two shades lighter. This creates an even canvas and helps all your other shades blend beautifully.
For most looks you can also use a light shimmery eyeshadow shade to highlight the eyes. It is not required, but it does brighten the eyes, especially when doing darker looks or when using all matte shades. Apply it on the inner corner, in the tear duct, and on the brow bone.
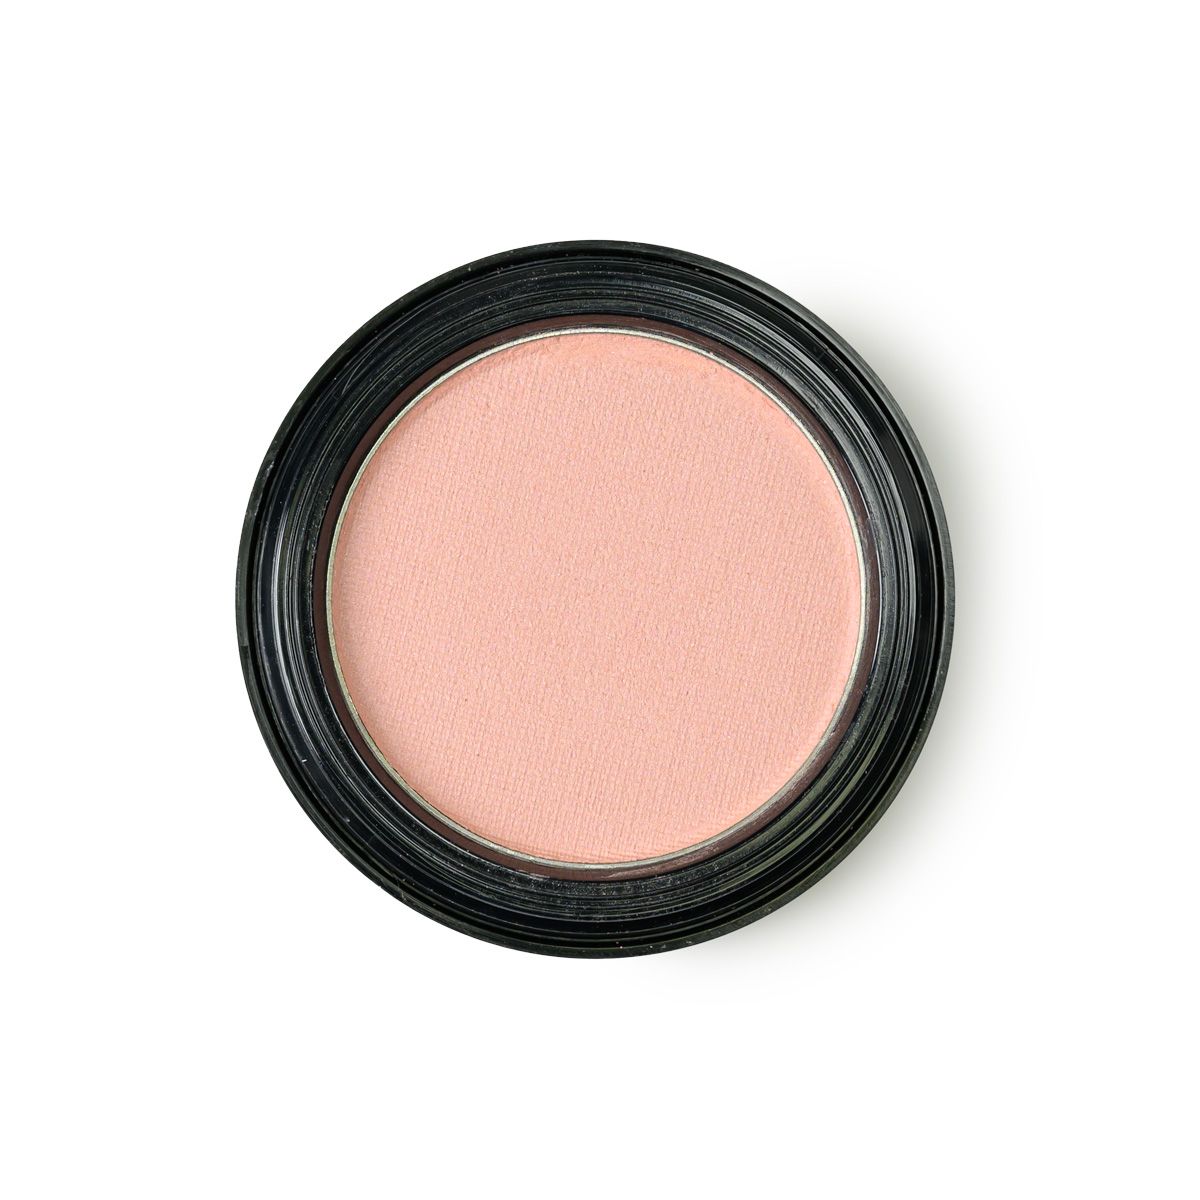
Buttercream and Innocence are perfect highlight shades. Champagne and Sand Castle are also great options for a soft glow.
- Prime lids first so color grips and stays put.
- Use a matte base shade close to your skin tone.
- Add a light shimmer in the inner corner and brow bone when you want extra brightness.
The Classic 3 Eyeshadow Application
The classic eyeshadow application uses three main eyeshadows: a light shade, a medium matte, and a darker matte shade. You can use all mattes or mix matte shades with a lighter shimmer shade on the lid.
Apply the medium eyeshadow shade in the eye crease (that folded area above the eyelids), blending it onto the transition area right above the crease using a crease brush like the Crease and Blend Brush.
Next, with an eyeshadow brush like the Wet/Dry Eye Brush, apply the lighter color on the lids.
Then apply the darkest color on the outer corner, blending slightly into the crease for some added drama. Apply and blend that darker color along the lower lash line as well.
Finish the eye look by adding a winged eyeliner if you wish and a couple of coats of mascara.
Here are multiple angles of this classic look.


You can also find an example of a classic eyeshadow application tutorial in the Fall Makeup for Wedding Guests article.
The Basic 2 Eyeshadow Application
A more basic version of the classic look uses just two main eyeshadows. There are two easy ways to do this.
First option: apply a medium matte shade in the crease to add definition, and a lighter shimmery shade on the lid to highlight the eyes and make them pop. Lighter shimmery shades are great for helping eyes look brighter and bigger.
Second option: apply the darker eyeshadow shade out of the two all over the lids. Then use the lighter shade to blend the darker shade out. Using a blending brush like the Crease and Blend Brush, apply the lighter shade into the crease using windshield wiper motions and blend the edges of the darker shade.
You can use either all matte shades or a combo of matte and shimmer on the lid for this technique.
Apply the darker color on the bottom lash line and blend that out for a more complete look. If you are using all matte eyeshadows, use the lighter shadow to soften and blend the deeper shade.
Add eyeliner, either a winged liner or just a darker upper lash line, and a few coats of mascara to finish the look. Or keep it simple and skip liner if you prefer.
Here are several versions of the Basic 2 Eyeshadow look.


Find examples of these applications in the tutorials found in the Easy Everyday Fall Makeup Tutorial and Ethereal & Natural Summer Makeup Tutorial articles.
The One & Done 1 Eyeshadow Application
For an even more simple and minimal eye look that can be done quickly, the One & Done application technique is your go to. You only need one eyeshadow for this easy look.
This is great for days when you have very little time but still want to look put together, or when you want a more natural look. A neutral matte eyeshadow shade is best, but you can use any matte color you love.
Start by applying your eyeshadow of choice on the lids using the Wet/Dry Eye Brush.
Then take a blending brush like the Crease and Blend Brush and diffuse and blend the eyeshadow out all over the lid.
You can take the same eyeshadow onto the bottom lash line or skip this step for a softer, more natural look. Another fun option is to apply a brighter or more colorful eyeshadow shade along the bottom lash line for a pop of color.
This look is a great one to pair with a bit of highlight in the inner corners of the eyes and on the brow bone to make the eyes pop. Finish with winged eyeliner for a touch of drama and a couple of coats of mascara, or just mascara alone.
Here is a gallery of this single eyeshadow look. Stunning, right.


Head on over to the Bright Summer Makeup Look Tutorial article, where you will find a step by step tutorial using this application technique.
Smokey Eyes
Smokey eyes are very popular and flattering on almost everyone. They are a perfect eye look for evening and formal makeup but can also be worn softly for daytime.
This technique uses a dark eyeshadow shade on the lids, blended out with a lighter shade to create that smokey effect. You will need three shades: a light, medium, and dark. Use all mattes or choose a shimmery dark shade for extra drama.
Start by using the Wet/Dry Eye Brush to apply the dark eyeshadow on the lids.
Then take the medium color and blend out the edges of the dark shade using the Crease and Blend Brush.
Use the lightest shade to blend everything out for a smooth and seamless transition.
Apply the darkest eyeshadow shade to the bottom lash line as well and blend it out with the medium shade.
Finally, complete the look by adding a winged eyeliner or darkening the upper lash line and applying some coats of mascara.
Here are some easy smokey eye looks. So sultry.


For more on smokey eyes and a step by step tutorial, head over to the Simple Smokey Eye Look & Lipstick Pairings article. Check out the Springtime Smokey Eye Tutorial article as well.
Halo Eyes
Another popular eyeshadow application technique is the halo eye. This is a great technique when you want to give the illusion of larger, rounder eyes.
You will need three shades, both matte and shimmery. Choose a darker, a medium, and a light eyeshadow. The medium eyeshadow should be matte, and the light color should be shimmery. Your darkest color can be matte or shimmery, depending on your preference.
Apply the darkest shadow to the inner and outer corners of the lids with the Crease and Blend Brush.
Next, use the medium eyeshadow shade to blend the edges of the darker shade, blending through the crease and slightly above it.
Now take the Wet/Dry Eye Brush and apply the lightest color in the center of the lids. Pack the shadow on and slightly blend into the darker shade on each side.
On the lower lash line, apply your blending shade (the medium eyeshadow shade). You can also pop a highlight shade into the tear ducts and brow bone if you wish.
Finish with eyeliner and mascara or just mascara alone.
Here is a gallery of what the halo eyeshadow look can look like.


You can find a more detailed, step by step tutorial of this eyeshadow application in the Shimmer Eyeshadow for Brown Eyes Step by Step Tutorial article.
Monochromatic Eyeshadow Look
This is a fun eyeshadow application. Monochromatic makeup is a trend where you use shades in the same color family for the entire face, including eyes, lips, and blush.
For eye makeup, you can create the monochromatic technique using any of the eyeshadow applications in this article. From the One & Done look to the more dramatic Smokey Eye, the monochromatic technique works as long as your shades stay in the same color family.
For example, you could pair plummy eyes like Plums Up with a coordinating blush and lip color, or keep everything in warm earth tones with shades like Earth Girl.


You can find an example of a tutorial for this application technique in the Pink Monochromatic Springtime Makeup Look article.
The Ombre (Gradient) Look
The ombre or gradient eyeshadow technique is similar to the classic application, but the placement of the eyeshadows is different. Just like the classic, you will need three main eyeshadows: a light, medium, and darker shade. They can be different colors that work well together or shades in the same color family, like a monochromatic scheme. Use either all mattes or a mix of matte and shimmer.
Place the lightest eyeshadow shade on the inner third of the lids. Then apply the medium shade in the middle third, gently blending it into the light shade for a smooth transition. Apply the darkest shade in the outer third of the lids, lightly blending into the medium shade, and softly blending into the outer crease.
To smooth out the edges of your eyeshadows, use a lighter medium matte shade that complements your overall look. Using a blending or crease brush such as the Crease and Blend Brush, place this shade in the crease using windshield wiper motions and blend the edges across the entire crease and slightly above it.
Finish by either darkening the lash line or adding a winged eyeliner along with a few coats of mascara.
These are just some of the eyeshadow application techniques available. There are many more, but these are some of the best ones that give a beautiful look without being complicated. We hope you give these a try if you have not already.
FAQs
When applying eyeshadow, what goes on first?
No matter what kind of eyeshadow look you are going for, start by prepping the lids. Apply primer like Prime Time Eye Shadow Primer and give it a couple of minutes to dry, then apply a matte base shade that matches your skin tone.
How do you apply eyeshadow in order?
There is no single rule, but a helpful order is: primer, base shade, medium crease shade, then deeper outer corner or lash line shade. For shimmer, press it onto the lid after your crease work. This works for classic, basic, and ombre looks.
Which eyeshadow technique is best for beginners?
The Basic 2 Eyeshadow Application and the One & Done look are the easiest places to start. Choose a soft neutral like Like U Latte or Porcelain, keep your blending soft, and add more depth as you get comfortable.
What eyeshadows work best for sensitive or mature eyes?
Look for talc free, fragrance free formulas that feel smooth and blend easily. Our talc free eyeshadows for sensitive eyes are designed to be gentle while still giving rich color. Soft mattes like Tip Taupe and Yes You Canyon are especially flattering on mature lids.