

Are you a total makeup beginner, just starting to get with makeup?
It can be daunting not knowing where to start or how to do so. Wouldn’t it be great to have a guide that told you where to start, what makeup products you need to have, and also tell you how you should apply them?
This article is an overview guide to makeup for beginners, from where to start, product recommendations, makeup tips, to how to apply makeup. Here at Red Apple Lipstick, we believe in using makeup that is safe, and skin-loving, to enhance your natural beauty rather than mask or hide it. Of course, though, we also believe in having fun and playing with makeup. Once you are comfortable enough, do not be afraid to explore and play around with different colors and techniques!
Where to Begin?
To get started on your makeup journey, you first need to know a couple of things about your skin. For starters, you need to know your skin’s tone and undertone. Also, knowing your skin type will be important as well. Knowing this will be very useful when deciding on what makeup products to choose. Let’s briefly go over these.
What is Your Skin’s Tone?
Your skin tone is your surface skin color. There are 3 main skin tone categories, Fair/Light, Medium, and Dark.

- Fair/Light skin tones- lightest skin tones. Fair complexions fall in the lightest end of the range of skin tones. If you have a fair complexion, you probably sunburn easily. Light complexions usually have warmer undertones, and might not sunburn as easily.
- Medium skin tones- anywhere from light-medium, to olive, to tan complexions.
- Dark skin tones- these are those with the darkest to deepest complexions.
What is Your Skin’s Undertone?
Your skin’s undertone is the color tone underneath your skin. There are three main undertones, Cool, Warm, and Neutral. There is technically a fourth undertone, Olive undertone, but this is usually included in the warm undertone category. Here is one of the easiest ways to determine your undertone: look at the color of your veins on the inside of your wrist, where your veins tend to be more visible. Your skin has a:
- Cool Undertone (usually a pink/red/blue undertone to the skin)- if your veins appear to be blue or purple.
- Warm Undertone (usually a yellow/peach/golden undertone to the skin)- if your veins appear to be green.
- Neutral Undertone (a blend of both warm and cool undertones)- if your veins appear to be both blue and green. Or if you cannot tell if they are either blue or green, you most likely have a neutral undertone.
- Olive Undertone (both yellow and green/gray undertones)- similar to neutral undertones, if you cannot tell if your veins are blue or green or if they match your skin color, you most likely have an olive undertone.
What is Your Skin’s Type?
Knowing what type of skin you have is not only important when it comes to your skincare, but it is also important to know when choosing certain beauty products. This is super helpful when choosing what type of product formulas will work best for your skin, especially when it comes to base products such as foundations and concealers.

There are 5 main skin types:
- Normal- the skin is neither too dry nor oily with no major problems. Complexion appears radiant with barely any visible pores.
- Dry- the skin feels tight and rough, can be itchy, and becomes irritated. May even have rough patches of skin and more visible fine lines.
- Oily- the skin appears shiny, having enlarged pores. Prone to acne and other blemishes due to the extra oils produced.
- Combination- the skin is normal or even dry in some areas while being oily in others, like on the T-zone area- forehead, nose, and chin. The skin may appear shiny and have enlarged pores like oily skin types, as well as be prone to blemishes.
- Sensitive- delicate and fragile skin that is easily irritated and reactive. May experience redness, itching, dryness, and burning sensation when irritated. One thing to keep in mind: dry, oily, and combination skin types can also be sensitive too.
Knowing these 3 facts about your skin is super important and a great starting point. Now, we can move on to makeup.
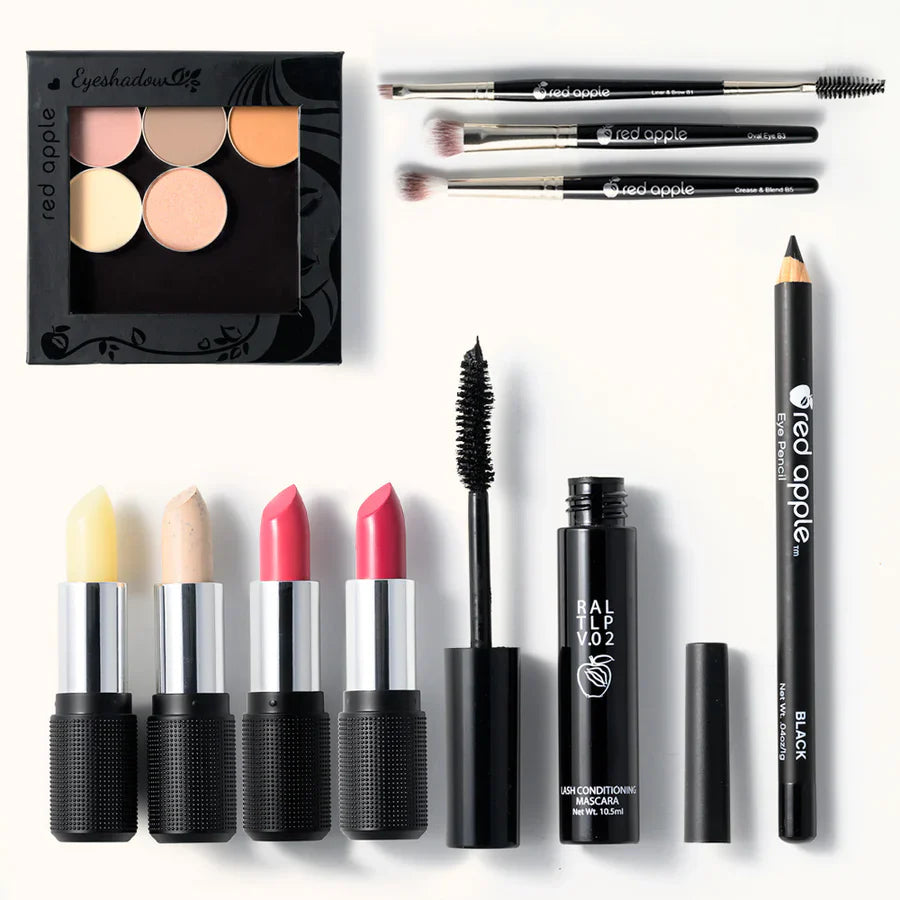
Products You Will Need for Your Makeup Routine
There are certain basic products that you want to have. You may not need to use all of them every single time you do your makeup routine, especially if you are going for a more natural and minimal look, but it’s a good idea to have them on hand. Red Apple Lipstick has a great selection of all the basics (besides base products) and will work for all skin types as they contain gentle, clean, safe ingredients which is a huge plus.

Always make sure to read ingredient labels on any product you are considering trying. You want to make sure you know what you are putting on your skin, even more if you have sensitive skin. There are a lot of products out there, including makeup, containing harsh ingredients that could potentially be irritating, even harmful, to the skin. Look out for ingredients such as parabens, petroleum & mineral oil, lead, talc, and fragrance- all these can be irritating and potentially toxic, so it’s best to avoid them.
Base Products
When it comes to your base products, you want to make sure you choose a foundation that suits your skin type. Liquid and cream formulas are usually great for dry skin as they are more hydrating and moisturizing. Liquid and cream foundations are also good options during the cooler months when our skins tend to get a bit drier. For oily/combination skin types, liquid and powder formulas tend to work best. Normal skin types can usually use any kind of formula, it all depends on what you prefer. Loose powder mineral foundations are great for pretty much any type of skin (unless if you are extremely dry) and work amazingly well for sensitive skin types. For a more natural look, look for a light foundation or try a tinted moisturizer, BB cream, and/or tinted sunscreen, these all offer a more natural light coverage. Whichever formula you decide on, make sure that it matches your skin tone as well as your undertone, your face should match the rest of your body (especially your neck).
Along with foundation, you can also use a concealer to cover any areas that your foundation does not fully cover, such as blemishes or dark spots, and dark under-eye circles. Make sure to choose a color that is the same shade, or close as possible, to your foundation shade. You can also use a shade lighter to conceal dark circles and brighten the under-eye area.
There are also setting powders that are designed specifically for keeping foundation in place, preventing it from rubbing off. They are not always needed but are great options for those with super oily skin as they also help reduce shine and oil buildup. A translucent powder is a great choice as it will not alter the color of your foundation.
Noemi’s Suggestions: I usually like a lighter to medium coverage type of foundation. I am also a big fan of mineral powder foundation and tinted moisturizers as well. Some brands I enjoy that offer great base products are W3ll People (I’ve used their tinted moisturizer and pressed powder foundation which are great), Alima Pure (their mineral foundation is the best I have tried with a great shade range too!), and Ere Perez (they have a couple of great options, I love their Oat Milk Foundation).
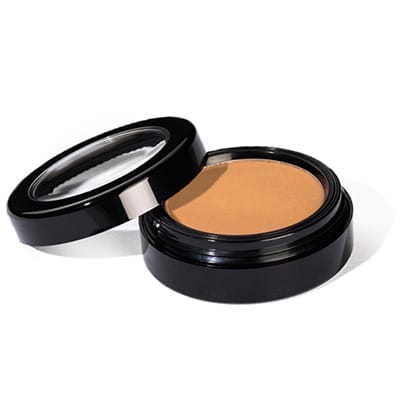
Bronzer
Bronzer is very useful for two purposes. It adds warmth to the complexion, giving the skin a sun-kissed glow. Bronzer can also be used to define, sculpt, and balance out facial features using a contouring brush. For sculpting, you want a bronzer that is matte and not too light in color, with grey or beige undertones. For bronzing (adding warmth to the complexion), however, you want a warmer shade of bronzer. Red Apple Lipstick’s Sundrop Bronzer is the perfect shade for doing both! A warm neutral matte shade that is warm enough to add natural warmth, but neutral enough and buildable for sculpting the face.
Our Pick
SunDrop Bronzer
We love the SunDrop Bronzer because it checks all the boxes. It's lightweight, buildable, a great color that works with a lot of skin tones, and it has clean ingredients.
Use it for shading and contouring.
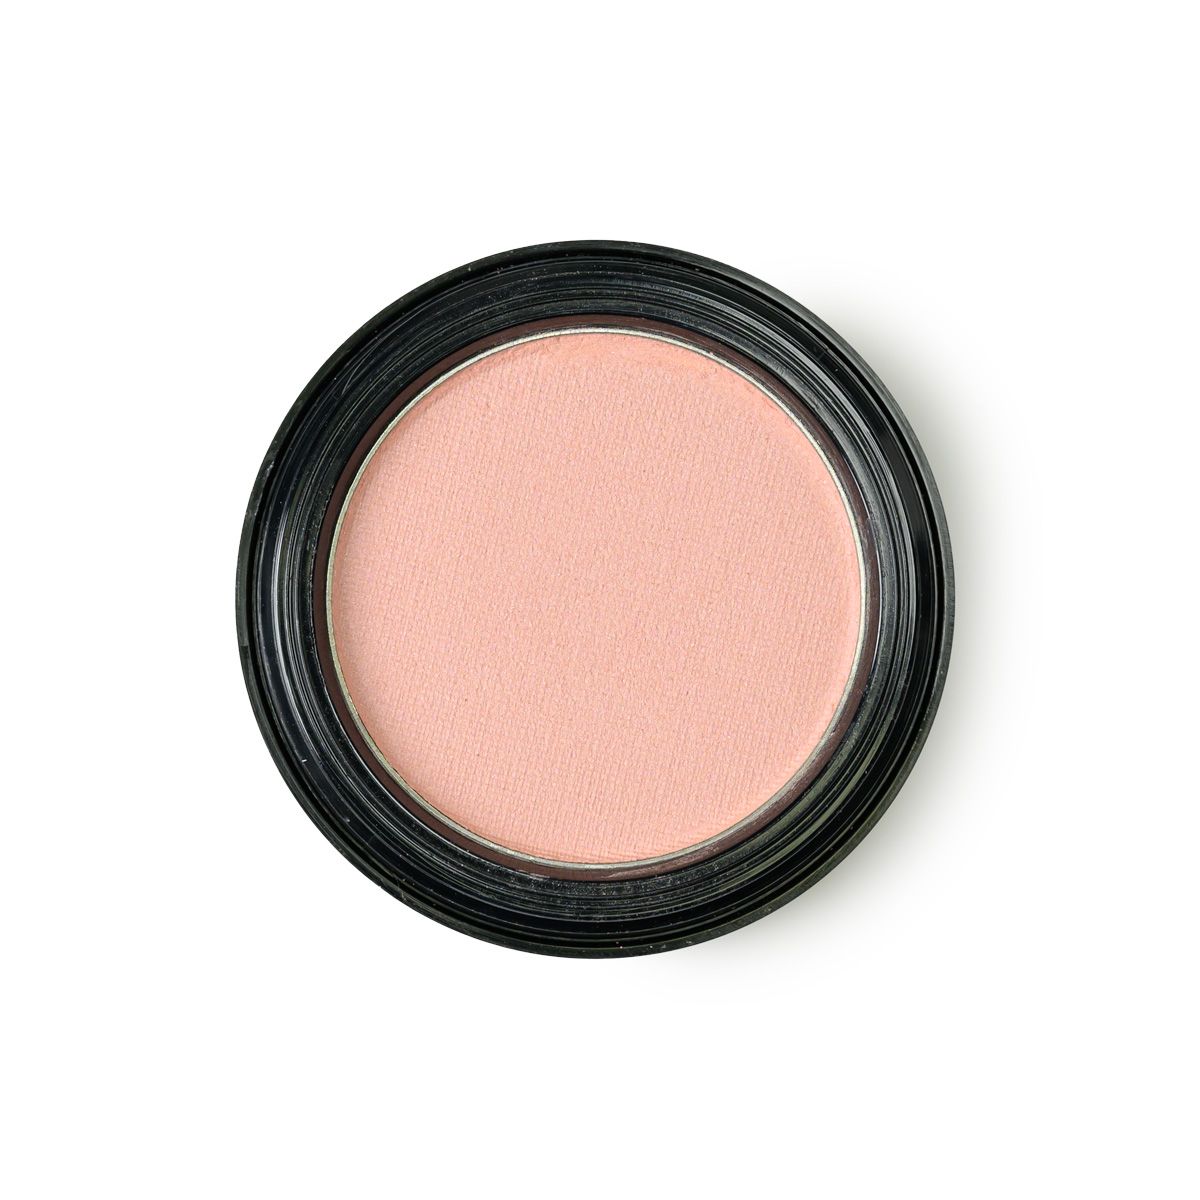
Blush
Blush is meant to add a natural-looking flush of color to the face. It is a great way to add a youthful glow to the complexion. In general, cool-toned complexions will look best with cool-toned blush shades and warm-toned complexions will look best in warm-toned blush shades. However, keep this very simple trick in mind when choosing blush shades: pick a blush that has the same undertone as your skin for a natural look, but for a bold look, pick one that has the opposite undertone. Check out all of RAL’s powder blush shades here.
Our Pick

Mineral Blush by Red Apple.
When it comes to blush, you want a lightweight formula that is buildable. You don't always want a bright color, but sometimes you do. A buildable formula can do exactly that.
It's also nice to know you're using a blush that is healthy for your skin. There's no need for clogged pores, rashes or harsh chemicals to get some good color to your cheeks.
Eyeshadow Primer
Eyeshadow primer is a must if you plan on doing any kind of eye makeup. An eye primer has a dual purpose. First, it helps your eye makeup go on smoother and last longer, preventing eyeshadows from creasing and fading. Second, eye primer also helps to enhance your eyeshadow shades, making them pop by helping them to look even brighter. This is exactly what the Prime Time Eye Shadow Primer does, just a tiny amount does the trick so it will last you until it needs to be replaced.
Our Pick

Prime Time Eye Primer by Red Apple.
A small dab of this super formula is all you need to set your eye shadow all day.
Dab your finger into this cream formula and dab it onto your eye lids, and then smooth. Give it just a minute and you're ready for eye shadow.
With any eye primer, don't use too much. Too much primer can crease under your eye shadow.
Eyeshadows
Using eyeshadows is an excellent way to highlight the eyes. You can also use eyeshadows to help your eye color pop, bringing the focus to them. You do not need many eyeshadows to create a beautiful look, especially when starting out. Just make sure you have the essentials; you will need a base color (a shade that is close to your skin tone) and some neutral shades for your basic eye looks. The New Mattes eyeshadow palette is great to have, you can accomplish many eye looks with these shades, anything from simple everyday looks to deeper nighttime looks. If you are looking for shades that are particularly great for your specific eye color, check out the curated eyeshadow palettes just for your eye color. These are beginner-friendly palettes as well as these eyeshadow shades are picked out just for your eye color in mind.
Our Pick

Eye Shadow Palettes By Eye Color.
Selecting eye shadow shades can be daunting. An easy way to get started is to pick a palette made just for your eye color.
Bonus: These palettes come with instructions.
Eyeliner
Eyeliner is a great way to frame the eyes, helping them stand out, add definition, and also help them appear bigger. Eyeliner can also be used to help thicken the lash line, helping to give the appearance of fuller lashes. There are a few different eyeliner formulas available such as liquid, gel, and eyeliner pencils. Eyeliner pencils are the most beginner-friendly as they are easy to apply. RAL Eye Liner Pencils are super easy to work with, they have the right softness so they Apply easily without tugging the eyes. Black and/or a brown shade of eyeliner is a must-have.
Our Pick

HypoAllergenic Eye Liners / Pencils
Choosing an eye pencil is very personal. But all eye pencils are used very close to your eye ball and your tear film.
We feel it's important to choose an eye pencil that's easy to work with, but also doesn't have eye irritating ingredients.
You can also use a dark eyeshadow (like Black Magic, Hello Darkness, and Espresso to name a few) applied with an angled brush as an eyeliner if you prefer. Eyeliner pencils are also great to use for filling in the brows as well as using an eyeshadow that is a shade close to your hair color. RAL’s Eye Liner Pencils in the shades Black, Cocoa, and Charcoal work great as a brow pencil for many.
Mascara
Mascara is another product that helps bring attention to the eyes. It thickens and darkens the lashes while also lengthening and defining them, helping to open and brighten the eyes. Mascara alone can have the ability to transform the eyes without needing to use any other eye makeup product, so it is a must-have whether you are a beginner or a pro.
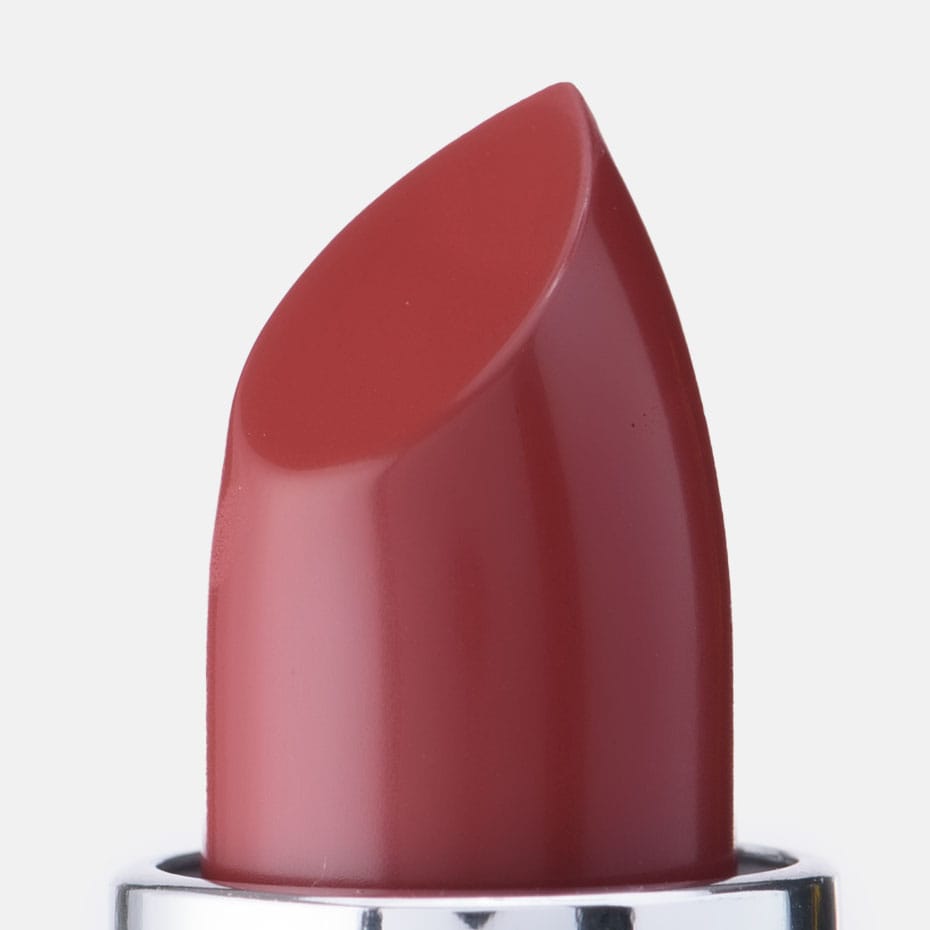
Lipstick and Lip Gloss
Adding color to the lips helps to complete your whole makeup look. It is also a great way to brighten the face and help draw attention to the lips. Lipsticks are great when you want a more saturated color, while lip gloss gives a more sheer color application that also gives the lips some shine. You can also wear lipstick and top it off with a complimenting lip gloss shade. The possibilities are endless when it comes to lip products and RAL has just about all the lipstick shades you could need as well as a great selection of lip glosses. Their formulas are both moisturizing and rich in color, containing safe and beneficial ingredients. To help you find the perfect lip color for you, make sure to read these articles: How to Improve Your Pout: A Beginner’s Guide to Lipstick, Tips for Finding Your Perfect Shade of Lipstick, Lipstick Colors for Warm Skin Tones, and Lipstick Colors for Cool Skin Tones.
Lip Liner
Lip liners are not always necessary, but they do come in handy to prep the lips for your lip color. It is meant to help shape and define the lips, while also helping keep lipstick in place. Lip liner can also help your lipstick last longer when you fill in the lips completely with it before applying lipstick. You can also just use a lip liner instead of lipstick, either alone or topped with a lip gloss. When beginning your makeup journey, choose a shade that looks close to the natural color of your lips, this type of shade will work with most lipstick colors. As you get more comfortable with wearing makeup, you can choose lip liner shades that will compliment different lipstick shades.
Tools- Makeup Brushes
Besides needing makeup products, you will need makeup brushes to apply your makeup. You will need at least one set of these brushes, but it would be a good idea to have 2 sets. It’s always a good idea to have a few sets of eye brushes since sometimes you may need to use multiple eyeshadows.
Your base products can be applied with your fingers if you wanted to, but it’s a good idea to have either a foundation brush or a makeup sponge as well, like a beauty blender. Makeup sponges can also be used to apply concealer.
You will also need a powder brush to apply both bronzer and blush. The Vegan Blush Brush is perfect for applying both blush and bronzer. It's thick and firm yet fluffy, making it perfect for blending out product easily while being exact in where it applies.
Our Pick

Vegan Blush Brush
Investing in high quality brushes will always be a win. A quality brush is going to give better results, and it will last longer. We believe you should never own a brush that doesn't work well or frustrates you.
This blush brush is perfectly sized for blush, angled just right and the vegan bristles are soft, fluffy and long lasting.
Eye brushes are also a must. You will need an eyeshadow brush to apply shadow on the lids such as the Vegan Wet/Dry Eye Brush. This is a firm yet soft and gentle brush that can be used both wet and dry. Another one you will need is a more fluffy brush to blend out eyeshadows. The Vegan Crease and Blend Brush is perfect for applying eyeshadow in the crease and blending it out.
Our Pick

Vegan Crease and Blend Brush
This Crease and Blend brush is the perfect size to give you control of how far you diffuse eyeshadows when blending. It has the perfect softness and firmness to it while being gentle on the eyes.
If you plan on filling in your brows, you will need the Vegan Angled Eye Brush. This brush has perfect bristle tension, it’s not too stiff nor too soft, and has the most perfect spoolie brush on the end for perfect eyebrow grooming.
Our Pick

Vegan Angled Eye Brush With Spool
This angled eye brush is perfect to fill in the brows using eyeshadows, but it also works to apply eyeliner. Use it to smooth out your pencil eyeliner, or use it to apply eyeshadow as liner.
Our Pick

Vegan Wet/Dry Eyeshadow Brush
Did you know that mineral eye shadows can be applied with a little bit of water?
Well, sure enough I can be. But you'll need a brush that can do double duty and won't be damaged by the water.
This vegan eye shadow brush is soft and long lasting.
Although not necessary, you may want to have a lip brush especially if you have a hard time applying lipstick straight from the tube exactly where you want it. The Vegan Lip Brush is designed to perfectly pick up the right amount of lipstick and lay it down perfectly smooth. You can also use the lip brush to line your lips with lipstick, for a perfectly defined lip.
Our Pick

Eye Lash Curler
Another popular tool that many have in their makeup bag is a lash curler. An eyelash curler helps to curl the eyelashes and can help them look longer, fuller, and thicker. You may choose to use one in your makeup routine, curling your lashes right before applying mascara. Just make sure to not curl aggressively or over curl the lashes to avoid damaging them.
You may not use all of these products every single time you do your makeup. However, these are the basic products that are good to have in your makeup kit because you will more than likely need to use them at some point or another. We recommend not having too many of each type of product. The only products you may need more than one is eyeshadows (since you will need a few different shades for different looks), lipsticks/lip glosses, and you may also need a couple of different shades of blushes. Other than that, you only really need one of each. (Not including brushes, of course, you may need a couple of those.)
How to Apply Makeup for Beginners
Let us now talk about how to go about the makeup application. These are the basic steps of applying makeup, you may not always want or need to follow all the steps but it is good to know them. Also, you can always start with your eye makeup first instead of face. This will all depend on your preferences, and either way works.
Apply Your Base Makeup
Make sure to always start with clean skin that is well moisturized by applying a light moisturizer to the entire face, this will help prep the skin and help your base makeup apply smoothly. Apply foundation, either with a makeup brush or sponge, starting with a light layer and building up to the level of coverage you desire, ensuring that you do not over-apply and end up with cakey-looking foundation. After applying your foundation, you can then apply concealer, if you want, to any areas needed. You may then set your makeup with a translucent powder if desired. For a flawless finish, make sure not to apply excess powder.
Warm Up the Complexion
Using a powder brush, like the Vegan Blush Brush, apply bronzer where the sun would naturally hit your face, your forehead, cheekbones, and your nose. Start lightly and build up to the desired amount of color. For more in-depth details on applying bronzer, as well as blush, make sure to read the How to Apply Blush & Bronzer for Your Face Shape article.
Add a Healthy Flush of Color
The simplest way to apply blush is by smiling slightly to locate the apples of your cheeks, apply the blush there first and blend towards your hairline using the Vegan Blush Brush. Always start with a small amount and build the color up until you reach the color intensity that you prefer. If you are over 50 or have started noticing the apples of your cheeks dropping, apply your blush a little higher up. Applying blush closer to the cheekbones and farther from the apples of your cheeks will give the face a youthful, lifted effect. For more tips on applying blush, make sure to check out the How to Apply Blush- The Basics article.
Fill in the Brows
You can fill in your brows using either an eyebrow pencil or brow powder, such as an eyeshadow that matches your hair color. If your brows don’t need much work and just filling in sparse areas- eyeshadow works the very best. If your brows are very thin or are missing complete sections of brow hairs, try using a pencil with small quick strokes to define the areas but not fill them in completely- then use eyeshadow powder to fill the area in. For more on how to fill the eyebrows, check out Andrea’s tips and suggestions here.
Now It’s the Eyes’ Turn
Always prep the eyelids if applying eyeshadows with eye primer. Once your primer has dried for a couple of minutes, apply an eyeshadow color that is close to your complexion tone all over your eyelids as a base color. You could just stop there if you want a very natural look, but for a bit more definition, apply a medium tone neutral color onto the crease (that folded area above the eyelid where a literal crease forms) with a blending brush. Blend slightly upwards into the transition area (the area just above the crease) using sweeping motion across the entire crease area. If your eyelids have started drooping or are hooded, apply above the natural crease so that the color is visible when your eyes are relaxed.
Line the eyes using either a black or brown eyeliner pencil. Apply eyeliner closely to the upper lash line, then smooth your liner out using the Angled Eye Brush. Or you can also use a black or dark brown eyeshadow as eyeliner, applying it with the Angled Eye brush to the upper lash line. This gives the illusion of fuller lashes and is more natural-looking than pencils.
Finish the eye look by applying mascara to your lashes. Apply a couple of coats to give your lashes some length and volume. For a more dramatic look, apply 3-4 coats of mascara.
Finish with the Lips
For a super simple and natural look, choose lip gloss to add just a little color and complete your look. To take it up a notch, you may choose to apply lipstick along with lip liner, or just lipstick by itself.
Those are the steps to a basic makeup look. This is a great starting point that you can always build from there once you are more comfortable with wearing makeup. You can add more color, try different techniques and incorporate different products. There are some do’s and don'ts when it comes to makeup that you should know about, find those makeup tips here.
We hope this guide is extremely helpful and helps you know how to get started with makeup. RAL also offers 2 free courses on eye makeup and lipstick application that are great tools for beginners. You can also find many makeup tutorials and more makeup tips and guides that will be quite useful in the Beauty Tips section to help improve your makeup skills.
Frequently Asked Questions:
}What makeup does a beginner need?
You will need the following basic items: Foundation, concealer, and setting powder, if you will need to set your makeup, as base products. Bronzer and blush for the complexion. An eye primer, a few eyeshadow shades, a black and/or brown eye pencil, and mascara for eye makeup. A couple of different lipstick shades and/or lip glosses as well as a natural color lip liner for lip products. You may also want to get a good lip balm to moisturize and prep the lips, such as the Rallye Balm.
When applying on makeup, what goes on first?
There is no right or wrong way when it comes to makeup. It all depends on your preferences and what works best for you. There are a few tips and tricks, though, that can help you get the best results possible. Some start with face makeup and then move on to the eyes, while others begin with eyes and then the face. Many professional makeup artists prefer to start with eyes to prevent any possible fall out from messing up any face makeup. Some even start with the brows first, then the eyes, and then the rest of the face. Others even leave mascara as the last step to prevent powders from getting on it. Play around and find the best order that gives you the best results.
What are the basic steps for applying makeup?
The most common basic steps of makeup application we see are foundation, concealer, setting powder, bronzer, blush, brows, eyes (primer, shadows, liner, mascara), and lips. However, another order we often see is this: eyes, foundation, concealer, setting powder, brows, bronzer, blush, and lips.